Jump to Content
SessionStack
GuidesAPI Reference
Sign UpSessionStack
Sign Up
GuidesAPI Reference

Installation

  • Getting Started
  • Script Tag
  • Google Tag Manager
  • Dev Environment
  • Test Without Installing

SessionStack

  • Cobrowsing and live sessions
    • Joining a Live Session
    • Live Support Toolkit
  • Session Recording & Segments Dashboard
  • User Session Definition
  • Data Collection
  • Sensitive Data
  • Notifications
  • Page Targeting
    • Simple Match
    • Exact Match
    • Starts With
    • Ends With
    • Contains
    • Regular Expression
  • Recording Iframes
  • API Docs
  • Visited URL
  • Clicked Element
  • Rage Click
  • Dead Click
  • Contextual Filters
  • Session Length
  • Active Time
  • User Management Dashboard
  • Funnels
  • Custom Events

Performance

  • Overview
  • Page Load
  • Runtime
  • Network

Security

  • Overview
  • Infrastructure
  • Operational
  • Application
  • PII and Sensitive Data
  • On-premises Deployment
  • Payment Information (PCI)

Compliance

  • GDPR
  • HIPAA
  • Opt-out

Integrations

  • Overview
  • Sentry
  • Intercom
  • Zendesk Support
  • Zendesk Chat
  • Bugsnag
  • Rollbar
  • Errorception
  • Google Analytics
  • Segment
  • Mixpanel
  • Trackjs
  • Drift
  • Heap
  • Raygun
  • Other Services
Powered by 

Getting Started

Check out how to install and get started with SessionStack.

Suggest Edits

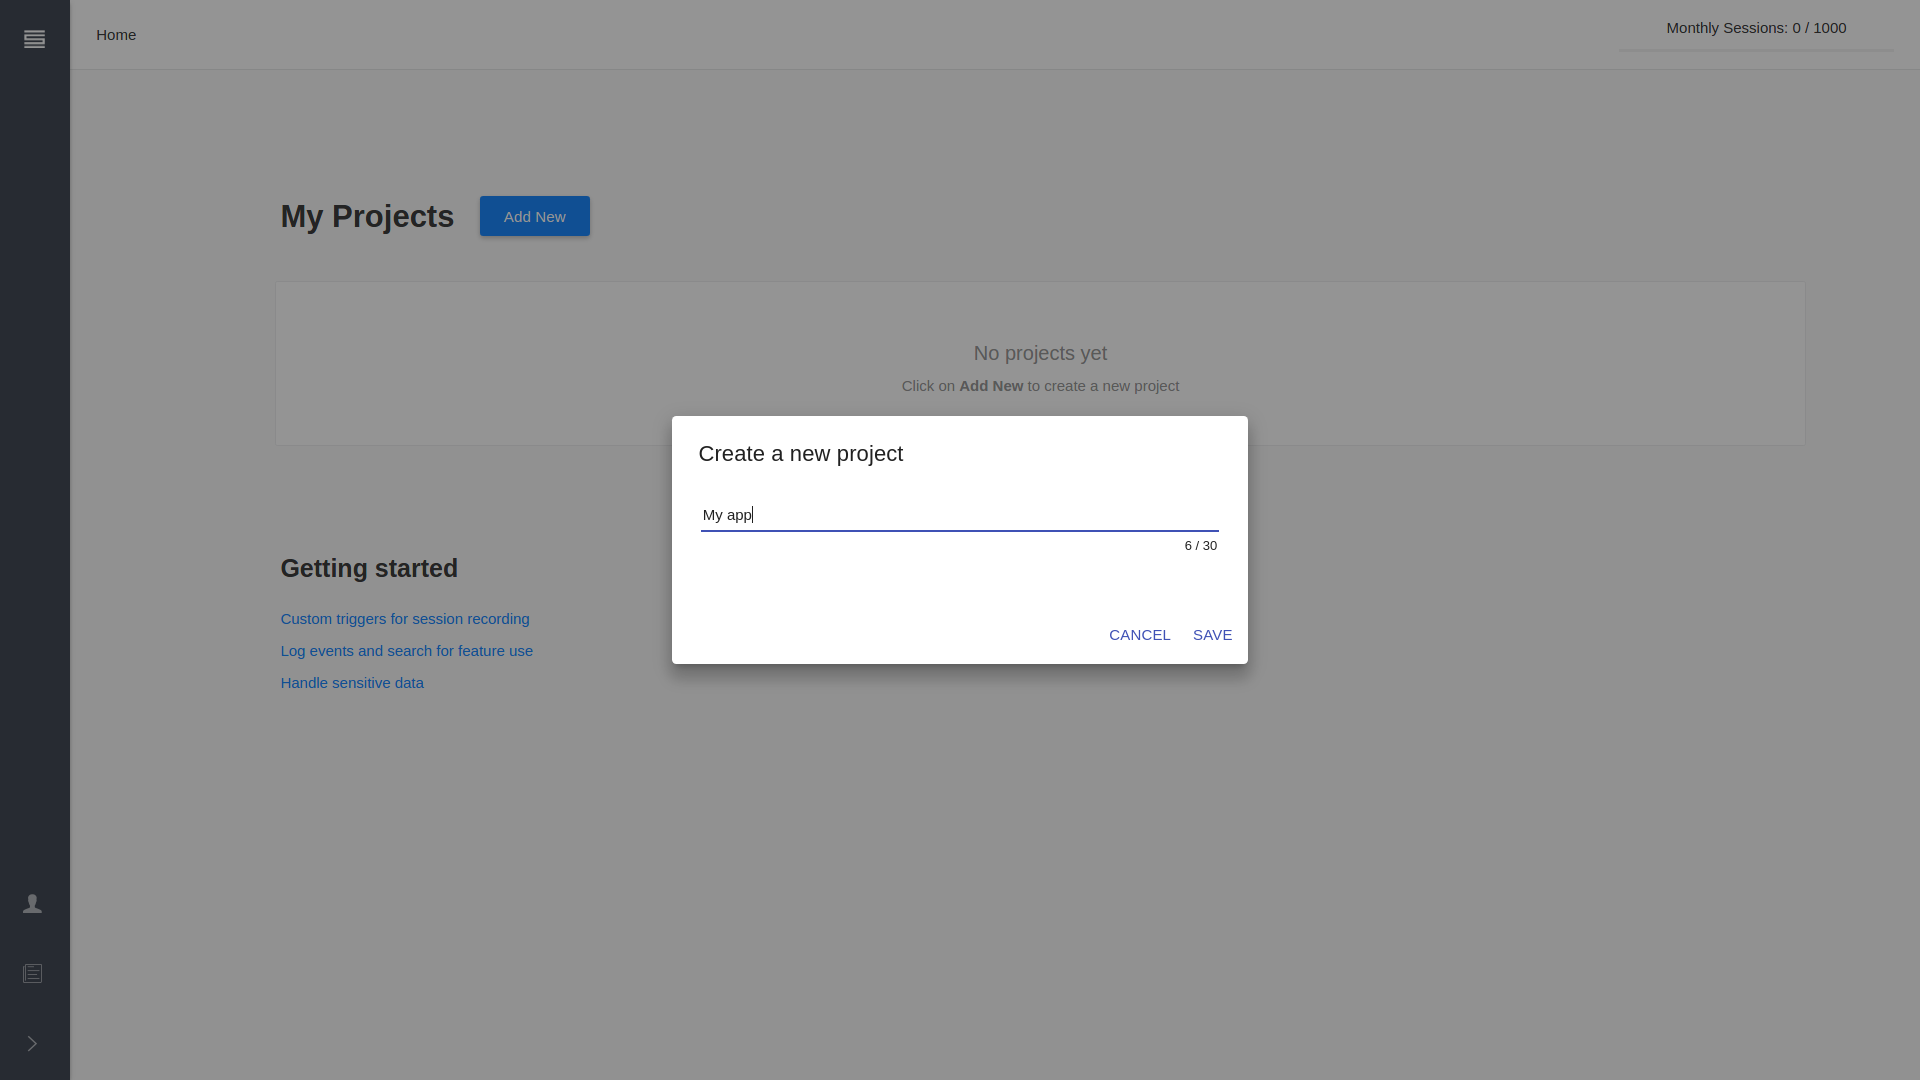
To integrate SessionStack in your website/web application you have to create a new project.
1920

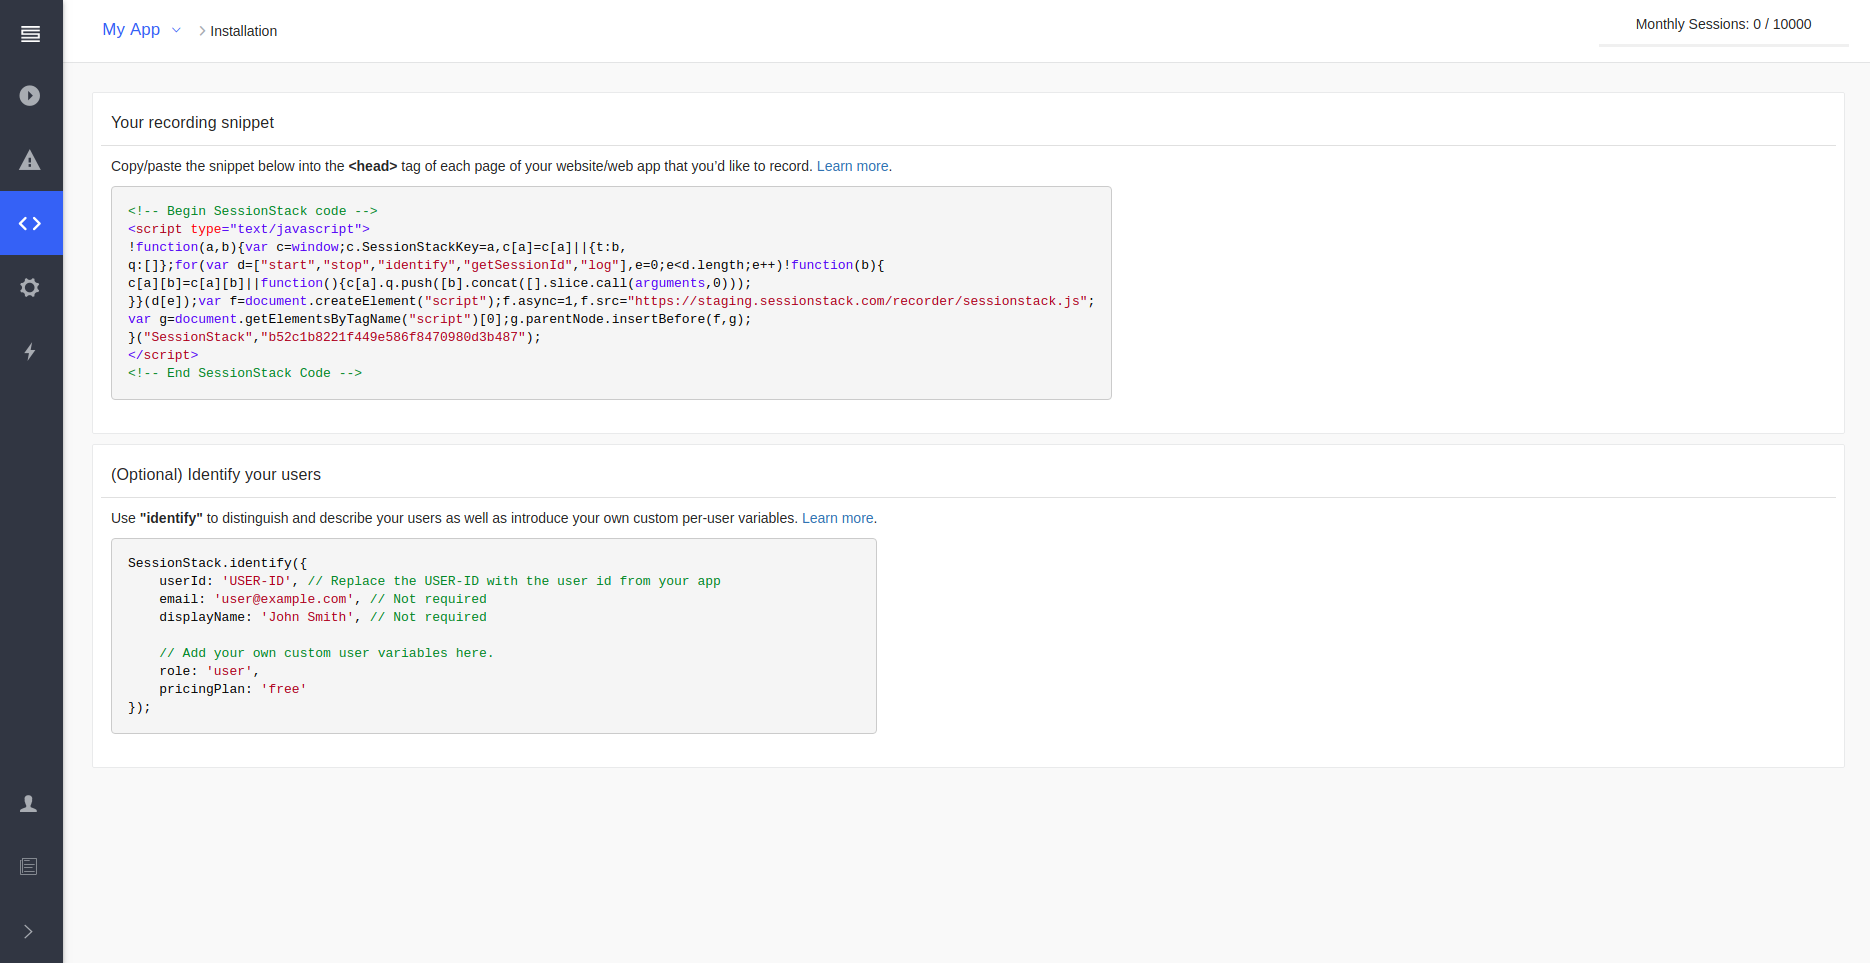
Then you will see the installation view for your project:

1870

This snippet has to be placed in your web app to install SessionStack. You can do this in many ways, ranging from directly placing the code in your HTML, to using a tool such as Google Tag manager. We'll now discuss the most common ways of installing SessionStack:

  • Script Tag
  • Google Tag Manager
  • Dev Environment
  • Test Without Installing

Updated almost 5 years ago


What’s Next
  • Script Tag