Intercom
Integrating SessionStack with Intercom
Integrating SessionStack with Intercom allows you to co-browse with your users in real-time as they need your help.
This tutorial assumes that you already have an account at Intercom with the Intercom widget integrated into your application. If you still haven't, check out how to get started with Intercom.
Integrating SessionStack
The first thing you need to do is to have SessionStack integrated into your web app or website. If you still haven't done this you can check out the detailed steps described here.
Installing the SessionStack app in Intercom
Intercom has a great App Store, allowing you to easily find and integrate external products to enhance your workflow.
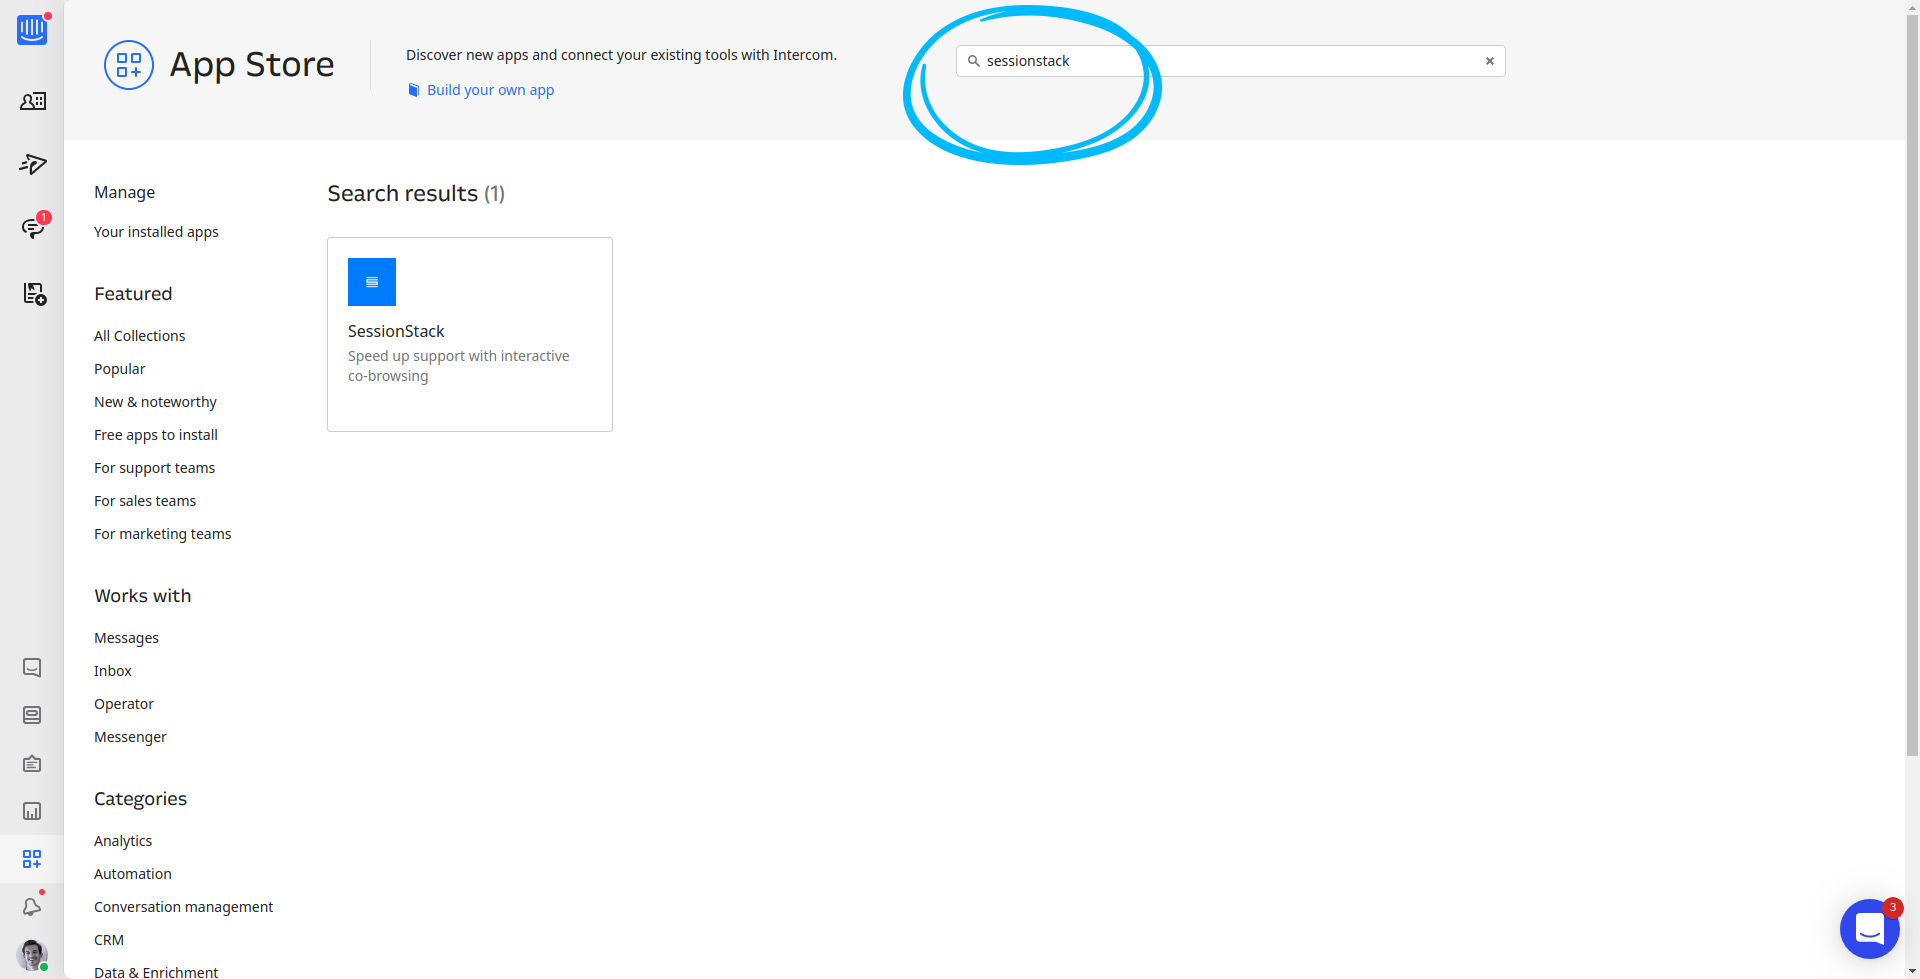
To integrate SessionStack go to the Intercom App Store and look for us:

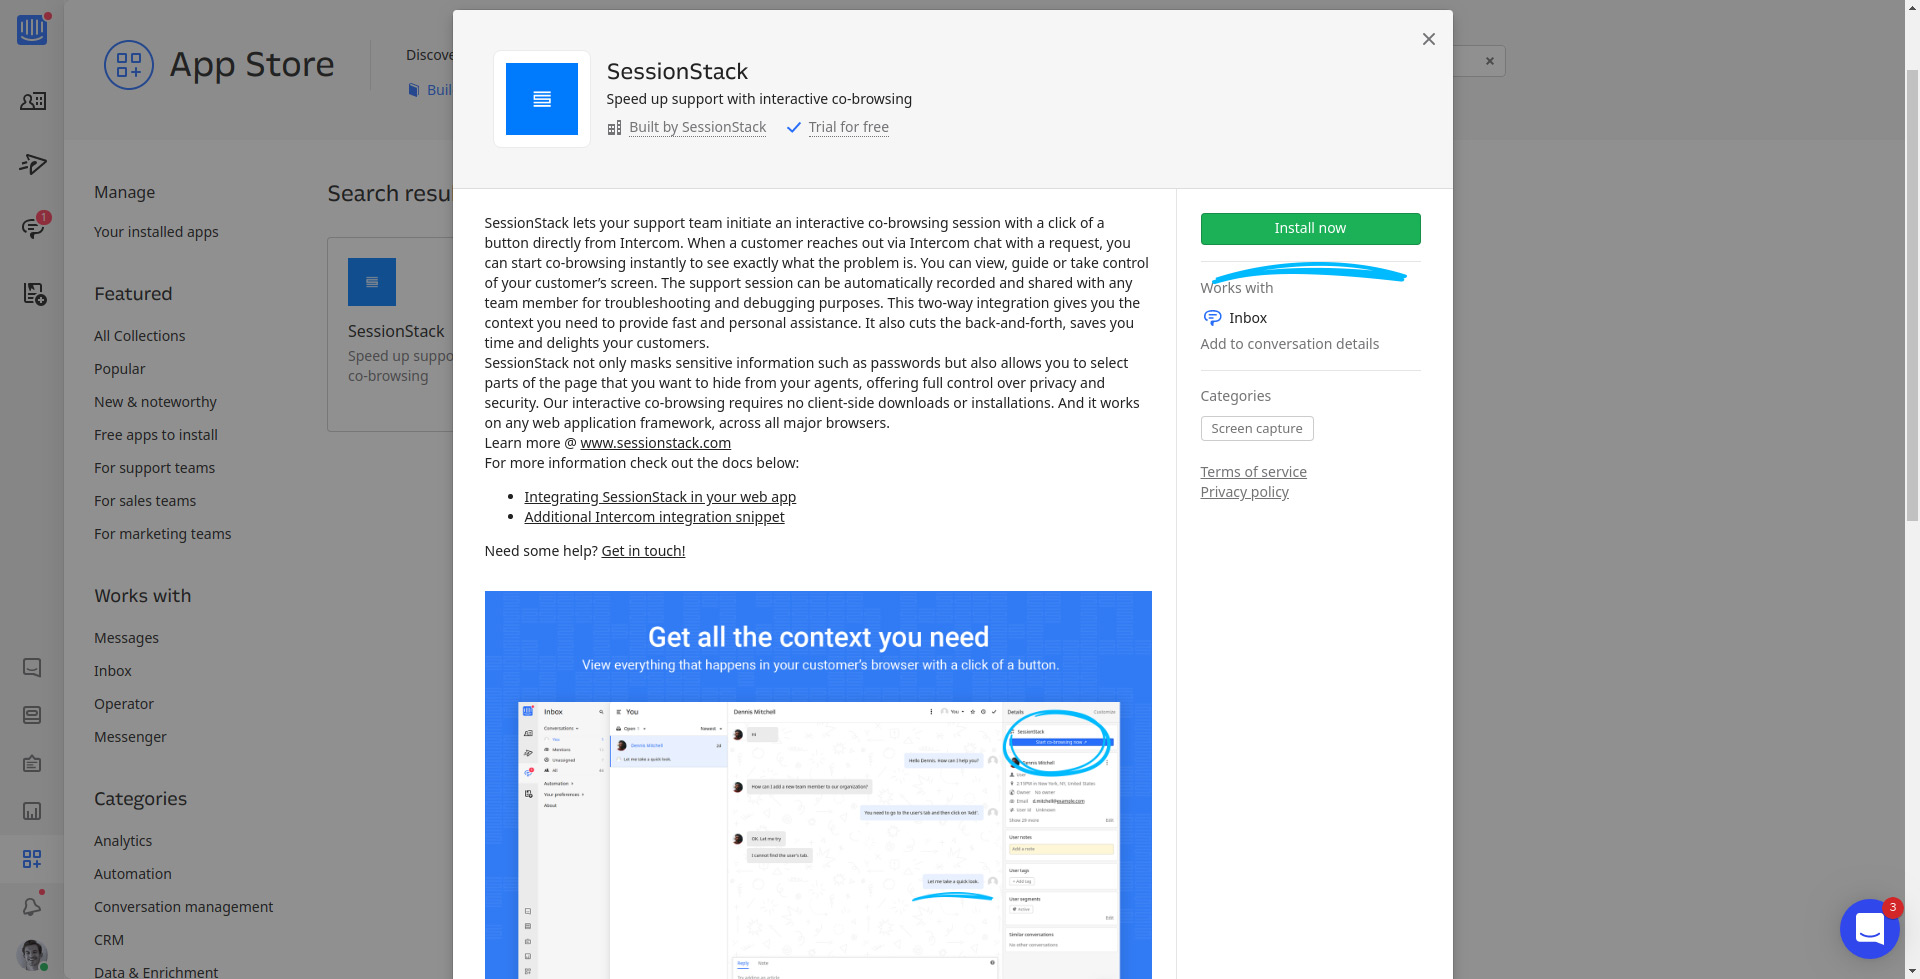
Afterward, you have to click on SessionStack which will prompt you with a modal window, where you can find more information about SessionStack. There is an installation button:

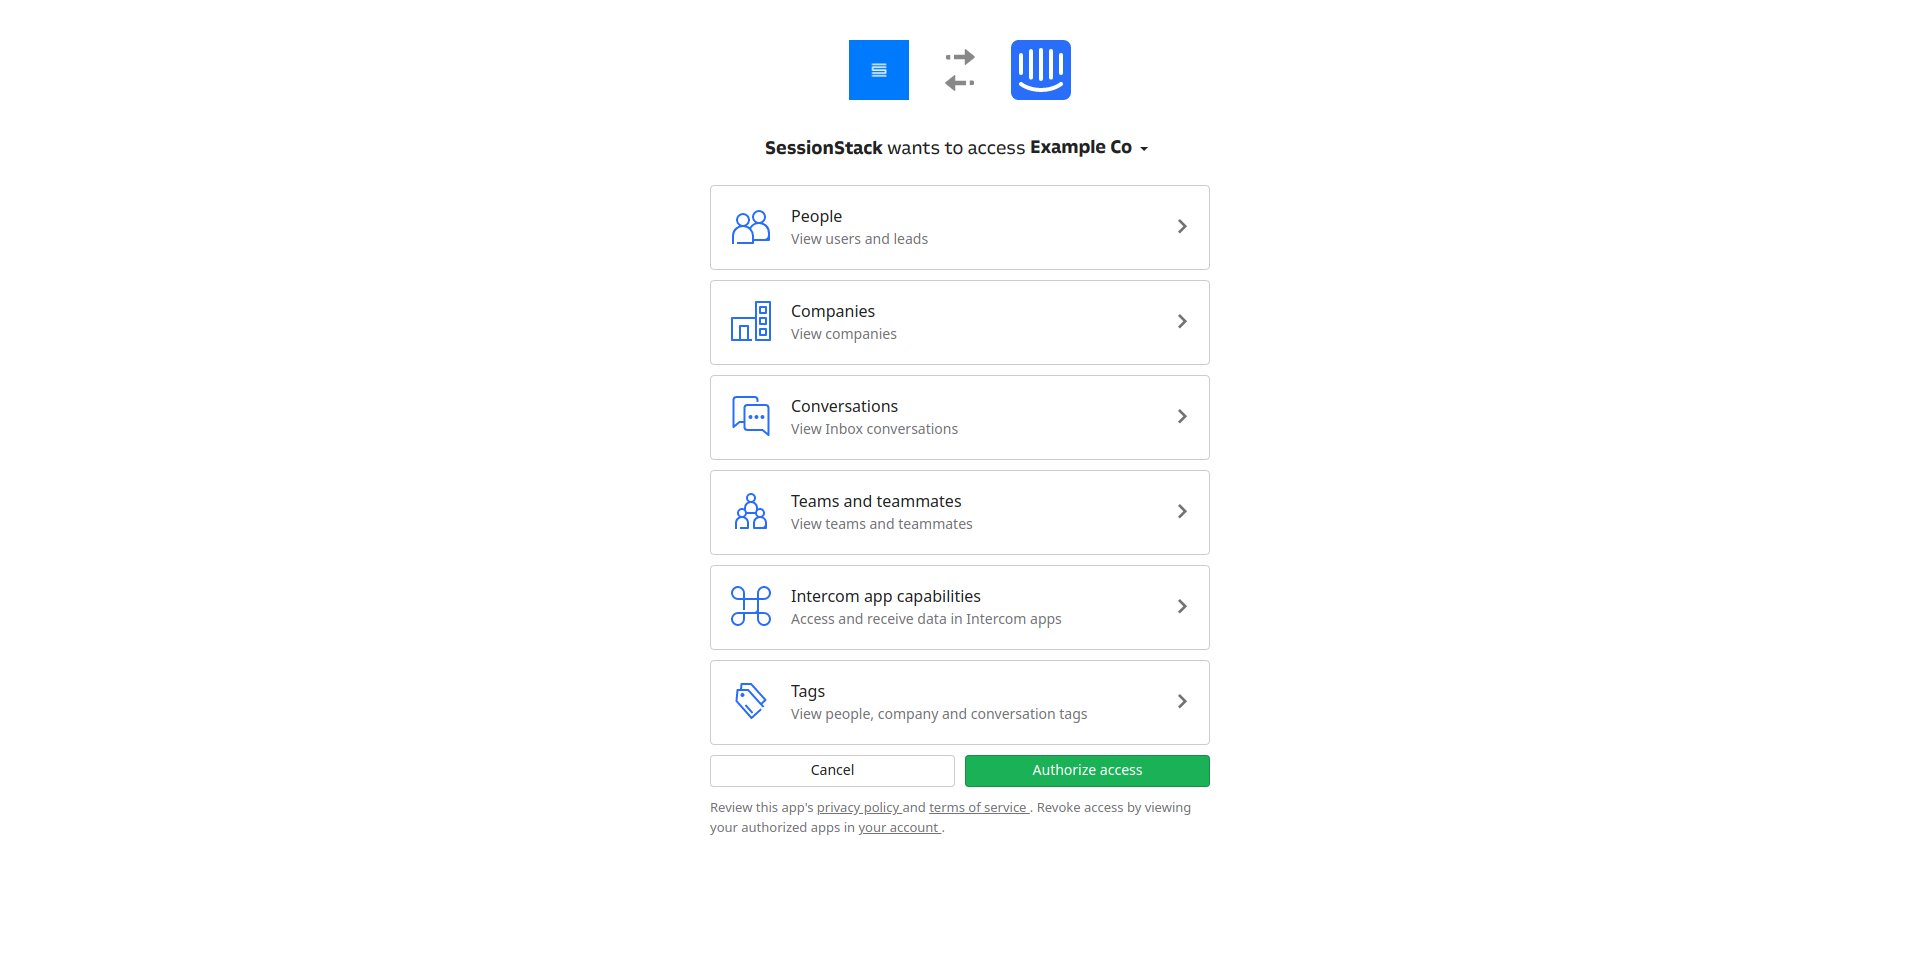
Then you will be redirected to a page, where you have to give SessionStack the requested permissions:

Additional Intercom integration snippet
Now, the SessionStack app is installed. The next thing you have to do is pass the SessionStack ID to Intercom as a custom property.
SessionStack.getSessionId(function(sessionId) {
    Intercom('update', { sessionstackId: sessionId });
});
And you're ready.
Follow the next steps for adding a button "Start co-browsing" for each initiated conversion (one-time configuration).
Step1: Open a conversation and press the "Customize" option in the top right corner.
Step 1: Select "Customize" settings
Step 2: Then click the "Show more" link.
Step 2: Click "Show more"
Step 3: After selecting the "SessionStack" option, press the"Done" button.
Step 3: Confirm the choice
Step 4: Configuration for the co-browsing feature is done.
Step 4: "Start co-browsing" is set
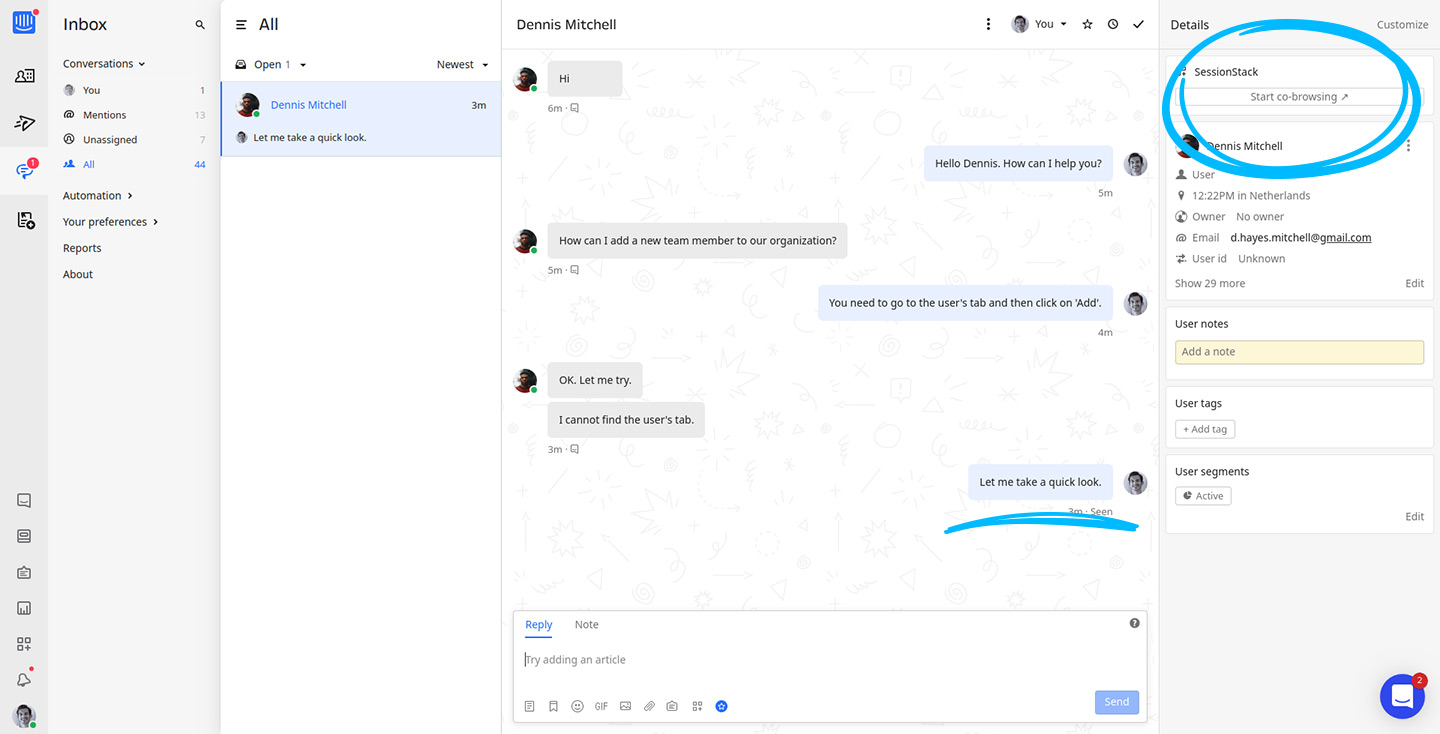
Now when you start a conversation with a user you will be provided with a "Start co-browsing" button at the top right corner of your Intercom conversation.

Updated 4 months ago
